Showing posts with label home décor. Show all posts

Saturday, March 28, 2015

Spring Wreath

It is Spring! And what do I love the most about Spring? The beautiful flowers that bloom around this time. I needed a Spring wreath for my front door but I wasn't sure how I wanted to make it. All I knew was that I wanted pretty pink flowers and burlap. I always make burlap wreaths because I simply love burlap. I searched Pinterest for ideas and inspiration. Here is what I came up with!


I am very pleased with this wreath and will keep it up until its time for Fall decor. I really love the little jewels I wrapped around it. It is actually a garland that I bought from Michaels. I love sparkly things so it goes well with my personality. This wreath turned out to be quite pricey but it was worth it for me. Everything was bought from Michaels. Unfortunately I don't have a tutorial for this. I'm sorry! Just thought I would show you all what I created for my Spring wreath! Happy Spring to you all!


Nayeli

Friday, November 21, 2014

Fall Glittery Mason Jar.

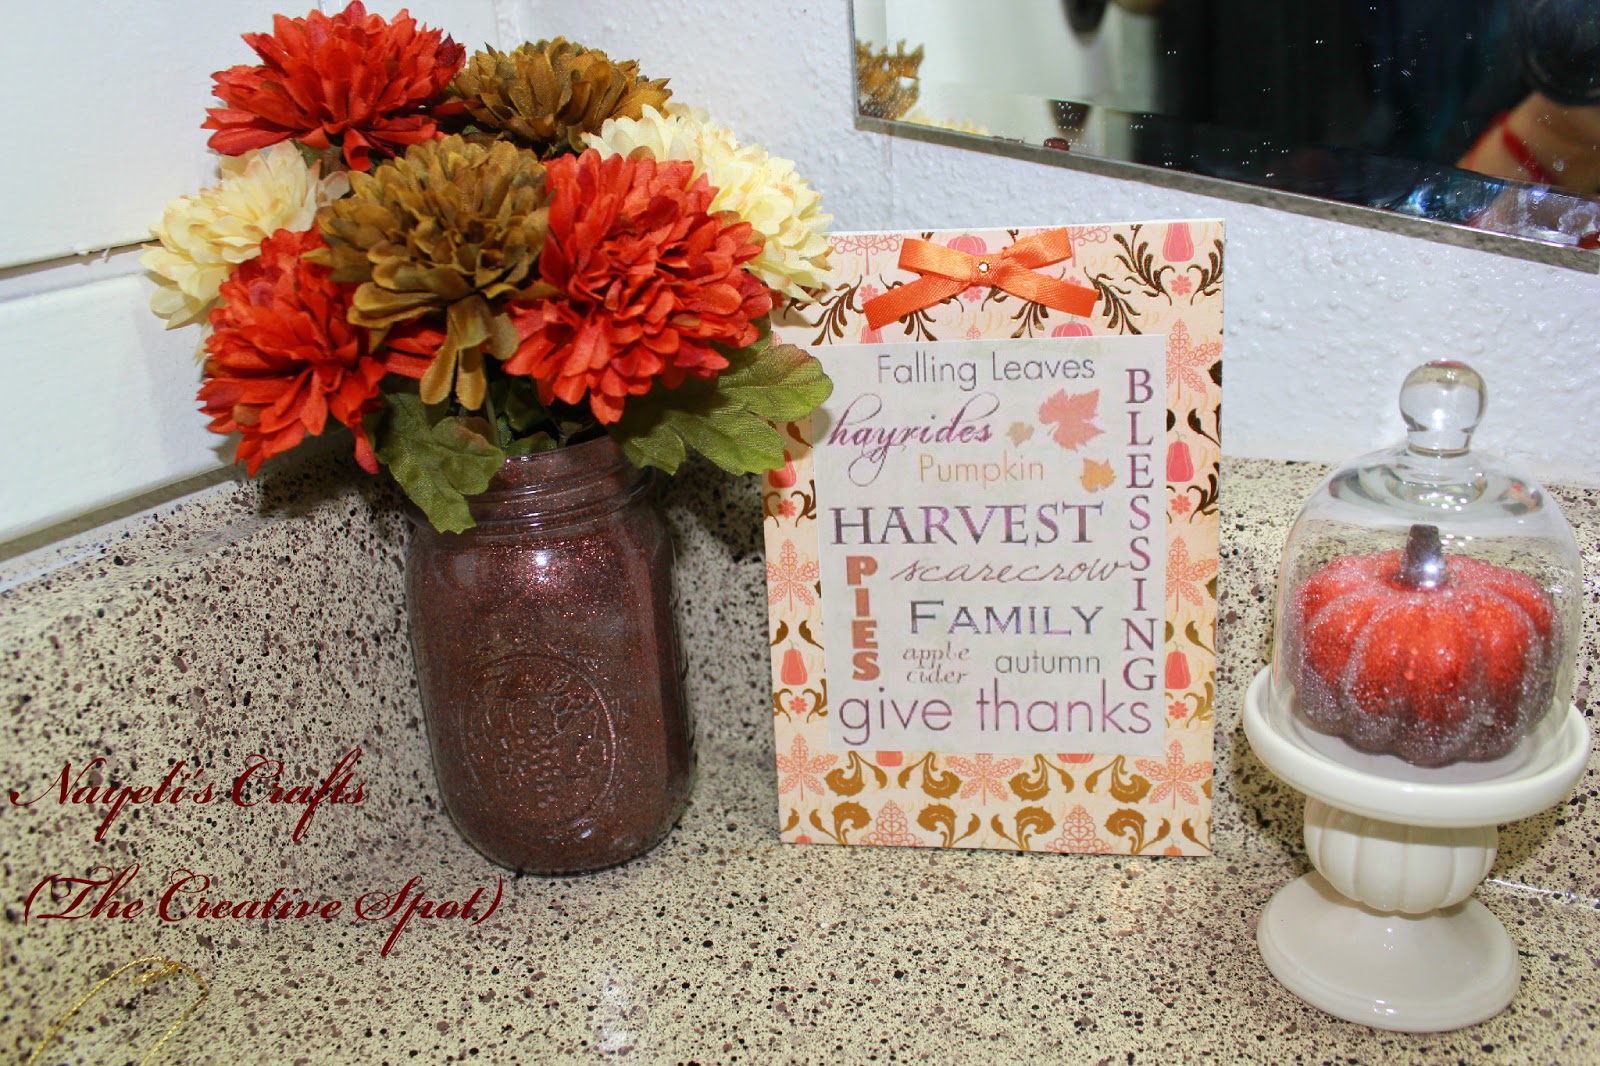
Hello! I'm falling behind on positing my Fall crafts so I am posting 2 posts a day before the month of November ends. I  have just started working on Christmas DIYs that I can't wait to post! So I have seen many tutorials on how to glitter mason jars. I have always wanted to do one but never got around to it. I wanted to add a pretty floral arrangement in my bathroom to decorate for the Fall. I love glittery things so I decided why not glitter a mason jar with brown glitter and add some pretty flowers! Here is what my floral arrangement in my bathroom looks like.


The little Fall sign I made using a 5X9 canvas but I will post about that tomorrow.

I just love the glitteryness of this mason jar! I think I will make some glittery silver ones for my Christmas Theme in my living room!
One more picture! Haha. Until next time!

Nayeli


Fall Wall Art Canvases

Hello all! This month I have been a busy crafting bee! I wanted to make my own Fall wall art using 12X12 inch canvases. Doing these were very easy. Unfortunately I didn't get a chance to take pictures for a tutorial. With working full time and coming home to do my wife duties I don't get a chance to take pictures of most of my crafts for tutorials. I will try my best to put tutorials in the future. So here is the wall art I made for the Fall/Thanksgiving.


 I love the scrap book paper I used to make these Fall wall art. This project involved a lot of modpodge and glitter.
 This are Fall sticker I found at Hobby Lobby. I love how the leaves look on this one.


So what I did was buy some Fall scrapbook paper. You can find them at any craft store. I bought mine online. These are some of the materials you will need.


I forgot to put the glitter I used in this picture and I did not use the 5X7 canvases in the picture. Ok so the materials here are:
4 wooded letters
Fall stickers
Fall scrapbook paper
4 12X12 canvases
Mod Podge
Gold glitter
Sponge brush
 
Now on to the instructions!
 
Fill up the sink with water. Then dip one of the scrapbook paper into the water slowly. You have to be very careful doing this because if the scrapbook paper is too thin it will rip apart. The ones I used were thicker which saved me from destroying the paper.
 
Next place the wet scrapbook paper on top of one of the canvases and align them. Now lift the left side slowly and put some Mod Podge on the canvas. Smooth out. Do the same steps for the right side and smooth out. Put aside to dry and continue with the other canvases.. *Note: Sometimes air bubbles form so put a heavy book on top to keep it from forming air bubbles. I let mine dry overnight.
 
Once the canvases are completely dry spread Mod Podge all over canvas to seal and give it some shine. Let dry for a few hours. Now you can choose to either paint the sides of the canvases with paint or glue some pretty ribbon around them so the white sides wont show. This is optional. I painted mine.
 
Now on to the FALL letters.
 
cover each letter with Mod Podge and sprinkle with gold glitter all over. I used refined glitter instead of regular glitter. Let dry completely. Once dry, cover each letter with one layer of Mod Podge. This will seal in the glitter and prevent fall out. Let dry. For one of the L wall art pieces I placed the Fall leaf stickers around.  Now its time to glue the letters in the center of each canvas. One dry your wall art is now ready to be placed on your wall!
 
I really love how they turned out! They look perfect with the fall theme in my living room. Hope the instructions weren't too hard to follow. Until next time!
 
 
Nayeli